PHONE: 727-492-6587
PHONE: 727-492-6587

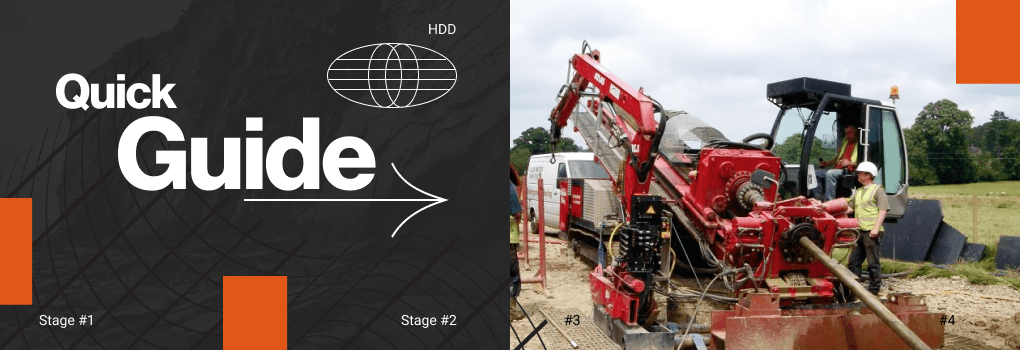
 Horizontal Directional Drilling, commonly known as an HDD, is a drilling method used to install underground cables, conduits, and pipelines. HDD is typically a trenchless drilling method involving a directional drilling machine and other associated attachments. This allows you to drill with precision along the pre-determined pathway.
The horizontal directional drilling process takes place in three stages: as follows.
In the first stage of horizontal directional drilling, you drill a pilot hole with a small diameter. You pump the drilling fluid to the drill bit via drill pipe. The drill bit and high-pressure jets grind the soil before the drilling stem.
Your drill fluid also carries the cuttings to your drilling rig's entrance pit. Depending on its complexity and size, you can track the pilot differently. You can do the smaller drills using a walk-over HDD location system. You can use wire-line magnetic HDD location systems for long and complex drilling.
Both methods use a transmitter located near the head of the drill. This locator sends information to the drill operator or location engineer. The engineer will check the reading for accuracy of the drill's angle and position and recalibrate the drill settings if required.
The speed of the drill for the pilot hole may vary based on the underground soil's existing conditions. Once the drill reaches the exit point, you detach the bit and beacon housing and replace it with a reamer.
In the second stage, known as pre-reaming, you enlarge the pilot hole by pre-reaming until you reach the safe diameter to install the pipelines. The drill machine's reamer pulls back and rotates while pumping the drilling fluid. This fluid will help cut and move any solids to enlarge the pilot hole. The pre-reaming speed may vary based on the soil's existing conditions and how many cuttings must be removed from the pilot hole.
You can use a variety of additives such as bentonite to clean and stabilize the hole. Bentonite creates a “cake layer” on the outside wall of the hole during pre-reaming. If you are drilling in clay soils, you can use polymer as an additive to help break it up.
In the final stage, you pull back the pipe placed inside the pre-reamed hole. The reamer and drill rod will attach to a swivel. You use this between your reamer and product line in order to prevent existing torsional stress caused as you transfer the rotating drill string to the product pipe. As you pull the product pipe inside the drill hole, this pumps the drilling fluid downhole, working as a lubricant for your product pipe.
Read our blogs if you wish to know more about the horizontal directional drill. You can also check other guides on our website to learn about components of horizontal directional drilling. For drilling equipment, visit ucghdd.com.
Leave a comment